 Pin This
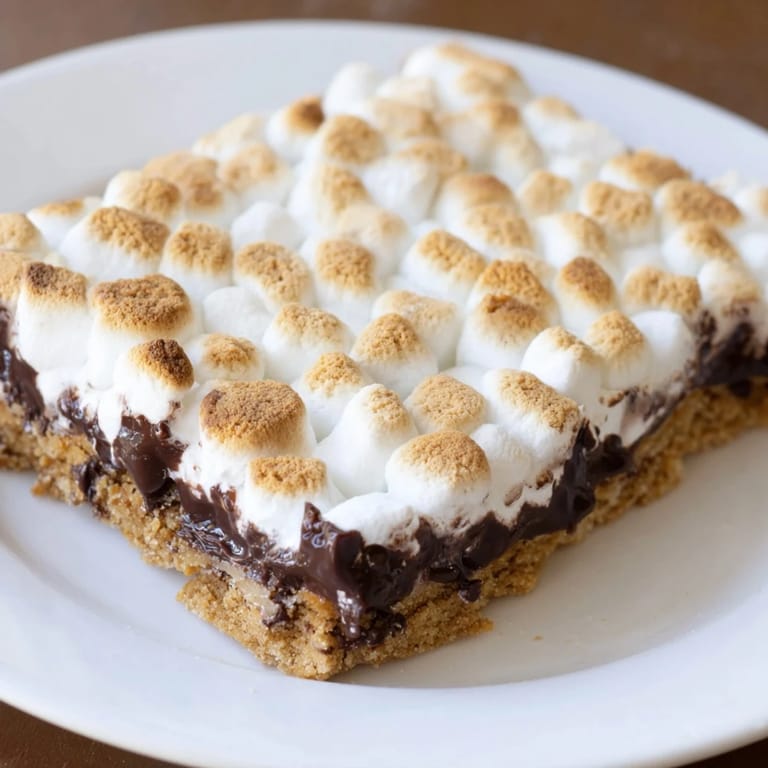
 The smell of toasted marshmallow still takes me back to summer camp fires, but lets be honest, sometimes you want that magic without the smoke in your eyes. I first made these bars on a rainy July weekend when camping plans fell through, and my apartment became the backup campsite. Something magical happens when graham crackers, chocolate, and marshmallows meet in an oven instead of over open flame.
My roommate walked in while these were baking and literally stopped mid sentence, demanding to know what smelled like a perfectly roasted marshmallow. We ended up eating them warm right out of the pan with forks, standing over the kitchen counter. That moment turned into a monthly tradition, rain or shine.
Ingredients
- Graham cracker crumbs: These form your foundation, so crush them fine but not into dust, you want some texture remaining
- Unsalted butter: Melt it completely so every crumb gets coated and the crust bakes up golden and firm
- Granulated sugar: Just enough to make the crust taste like the graham crackers you remember from childhood
- Semi-sweet chocolate chips: They melt into the perfect fudgy layer that bridges crust and marshmallow
- Mini marshmallows: These toast more evenly than large ones and create that beautiful golden blanket on top
Tired of Takeout? 🥡
Get 10 meals you can make faster than delivery arrives. Seriously.
One email. No spam. Unsubscribe anytime.
Instructions
- Get your oven ready:
- Preheat to 350°F and line an 8x8 pan with parchment paper, letting the ends hang over like little handles for easy lifting later.
- Build the foundation:
- Mix graham crumbs, melted butter, and sugar until everything looks like wet sand, then press it firmly into your pan.
- Set the crust:
- Bake for 8 minutes until it smells like toasty graham crackers, then let it cool for just a minute.
- Add the chocolate:
- Scatter chocolate chips over the warm crust and return to the oven for 2 minutes, watching them soften and spread.
- Create the marshmallow layer:
- Gently spread the melted chocolate, then pile on mini marshmallows and press them down slightly so they stick.
- Toast to perfection:
- Bake 10 to 12 minutes until marshmallows are puffy and golden in spots, watching closely so they do not burn.
- The patience part:
- Cool completely, then chill for 1 hour so you can cut clean squares instead of pulling apart gooey messes.
 Pin This
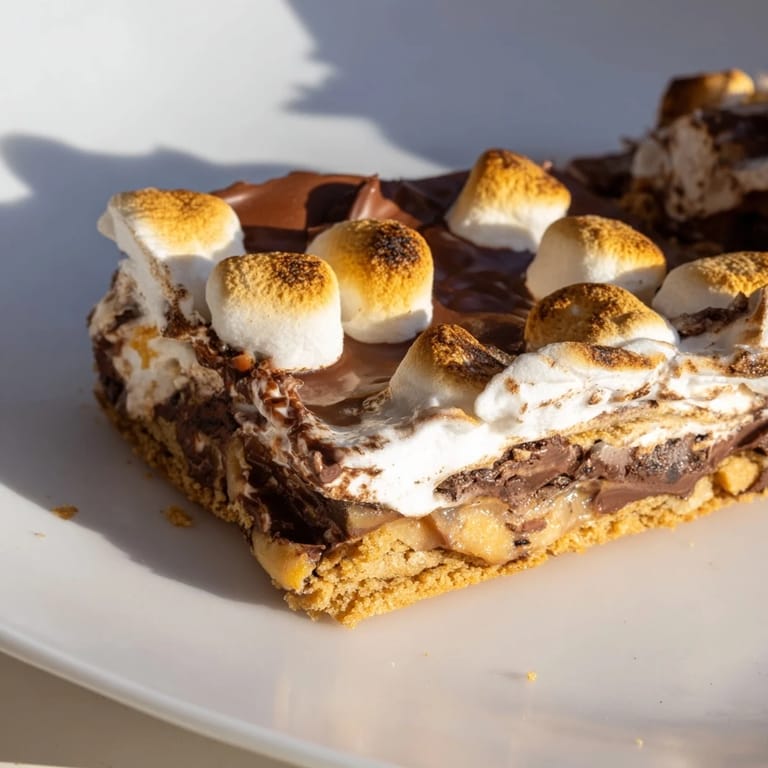
 I brought these to a potluck once and watched three generations fight over the last corner piece with the most marshmallow. A grandmother admitted she had been making s'mores the old fashioned way for forty years, but this bar version just changed her life.
Making Them Your Own
Sometimes I crush a handful of graham crackers extra coarse and fold them into the chocolate layer for little crunchy surprises. My friend adds a teaspoon of vanilla to the crust mixture, and honestly, that tiny addition makes everything taste more homemade.
Serving Suggestions
These bars shine at room temperature but become absolutely transcendent when warmed for 15 seconds in the microwave. I have served them alongside vanilla ice cream, crumbled over chocolate pudding, and even as a surprisingly good addition to a s'mores inspired milkshake.
Storage And Make Ahead Tips
The fridge keeps them firm for up to five days, though they rarely last that long in my house. You can freeze the uncut bars for up to two months, wrapped tightly in plastic and foil.
- Let frozen bars thaw at room temperature for an hour before serving
- Place wax paper between layers if you need to stack them
- A quick 10 second zap brings back that fresh baked texture
 Pin This
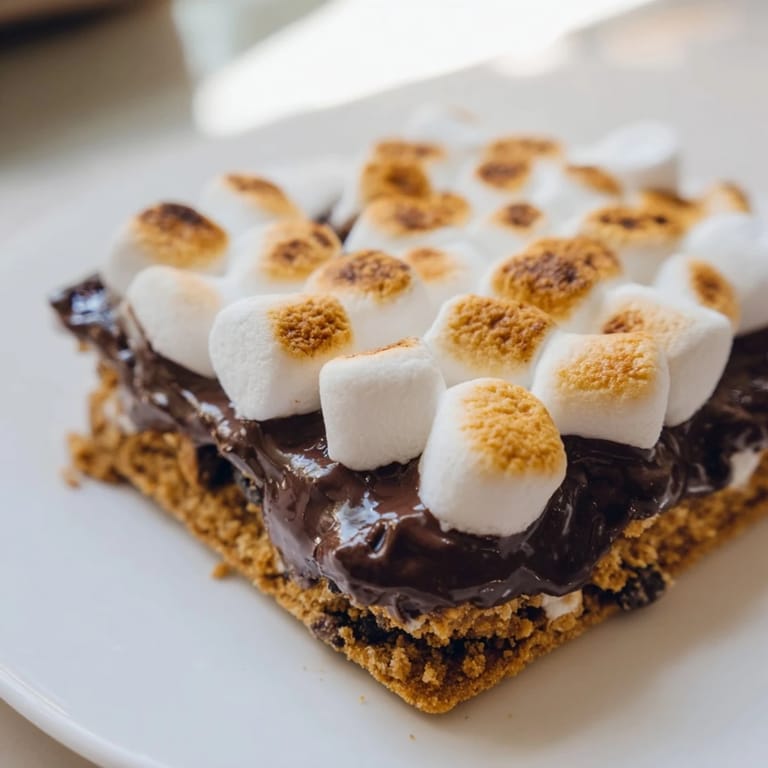
 There is something about holding a s'mores bar that feels like holding a little piece of summer, no matter what season it actually is.
Recipe Questions & Answers
- → Can I make these ahead of time?
Absolutely. These bars keep beautifully in an airtight container for up to 3 days at room temperature. They can also be frozen for up to 2 months - just wrap tightly and thaw at room temperature before serving.
- → What's the best way to get clean cuts?
Chilling the bars in the refrigerator for at least an hour before slicing makes all the difference. Use a sharp knife warmed under hot water and wiped clean between cuts for perfectly neat squares.
- → Can I use different chocolate?
Semi-sweet chocolate provides the classic balanced sweetness, but milk chocolate works wonderfully for a sweeter variation. Dark chocolate creates a sophisticated twist that pairs beautifully with the sweet marshmallows.
- → Why press the crust firmly?
Firm pressing ensures the crust holds together when sliced. Using the bottom of a measuring cup or glass helps create an even, compact layer that won't crumble apart when serving.
- → Can I broil the marshmallows instead?
Yes, after the initial baking time, you can broil for 1-2 minutes to achieve extra-charred marshmallow tops. Watch constantly as marshmallows go from perfectly toasted to burned very quickly under the broiler.
- → What if I don't have graham crackers?
Digestive biscuits, vanilla wafers, or even crushed shortbread cookies make excellent substitutes. The flavor profile will shift slightly but still deliver that essential crunchy-sweet base.