 Pin This
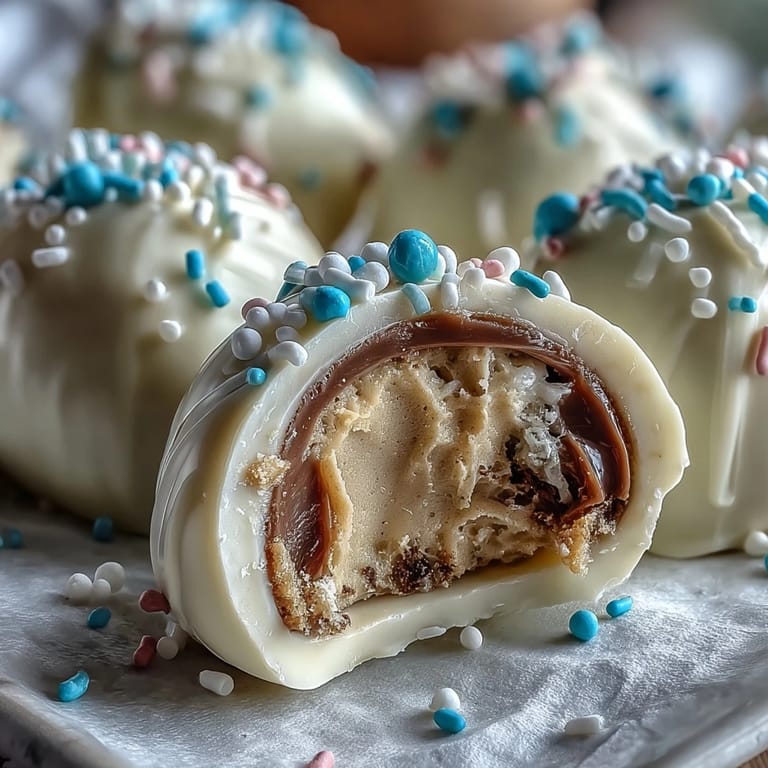
 The sound of laughter from the kitchen always signals something playful is underway, and these White Chocolate Peanut Butter Easter Eggs are no exception. One spring afternoon, I found myself rummaging for ways to make a dessert gift for a neighbor, and the cheerful sprinkles and creamy peanut butter mixture instantly promised smiles. The scent of sweet vanilla and buttery peanut aroma filled the air as I shaped each egg, making it feel more like crafting than baking. It’s a recipe that encourages you to turn the process into a mini-celebration, especially when there’s a little mess and lots of joy. By the time the white chocolate began to melt, I was already planning how to wrap each egg in pastel parchment for sharing.
On a chilly morning before Easter, I made these for a group of friends visiting after a brunch. Someone accidentally knocked the sprinkles bowl, sending a rainbow across the counter—turns out tiny disasters are an invitation for laughter, not panic. Each person got to dip and decorate their own egg, and the kitchen was filled with easy chatter and sticky fingers. No one remembered the store-bought treats because these homemade eggs stole the show and found their way into every goodie bag. It’s a recipe that creates more memories than messes, especially with company.
Ingredients
- Creamy peanut butter: The secret is to use a smooth brand for the silkiest filling—if you go crunchy, fold in at the last step for texture.
- Unsalted butter: Room-temperature butter blends better; if too cold, the filling turns stiff and won't shape neatly.
- Powdered sugar: Sift if lumpy or clumpy, as powdery sugar makes for a soft, set dough without graininess.
- Vanilla extract: Even a small splash infuses irresistible warmth—don’t skip it.
- Salt: A pinch balances sweetness, sharpening the peanut flavor nicely.
- White chocolate chips or melting wafers: Melting wafers yield the glossiest finish but chips work if stirred well and melted slowly.
- Coconut oil: Optional, but I noticed it makes the melted chocolate coat evenly and not crack as it sets.
- Assorted colorful sprinkles: Choose pastel for traditional Easter vibes, or go wild with bold colors for a playful twist.
Tired of Takeout? 🥡
Get 10 meals you can make faster than delivery arrives. Seriously.
One email. No spam. Unsubscribe anytime.
Instructions
- Mix the filling:
- Grab a big bowl and combine peanut butter, softened butter, vanilla, and a pinch of salt, beating until the mixture smells rich and looks silky.
- Add the powdered sugar:
- Sift the sugar in slowly while mixing, watching as the dough takes shape and becomes thick enough to mold.
- Shape into eggs:
- Scoop out a heaping tablespoon of filling and roll it between your hands—press gently to form little egg shapes, feeling the dough soft but holding.
- Chill the eggs:
- Set the shaped eggs on a parchment-lined tray and pop them into the fridge; after 30 minutes they should be firm to the touch.
- Melt the white chocolate:
- Place chocolate chips and coconut oil in a microwave-safe bowl; heat in short bursts, stirring each time, until the chocolate flows in glossy ribbons.
- Dip and coat:
- Use a fork or dipping tool to lower each egg into the melted chocolate, letting excess drip off before returning them to the tray.
- Add sprinkles:
- Sprinkle brightly over each egg while the chocolate is still soft, making sure each gets a pretty patina of color.
- Final chill:
- Slide the tray back into the fridge for a quick 10-minute set; when you pull them out, the coating should be crisp and ready.
- Store and serve:
- Keep eggs in an airtight container in the refrigerator to preserve their texture until you're ready to surprise someone with a sweet treat.
 Pin This
 It was after everyone had gone home that I found three eggs left and decided to tuck one beside my coffee the next morning. The sweetness, crunch, and swirl of color felt just right, and turned an ordinary Monday into something unexpectedly cheery. Sometimes, the best treats really are the simplest.
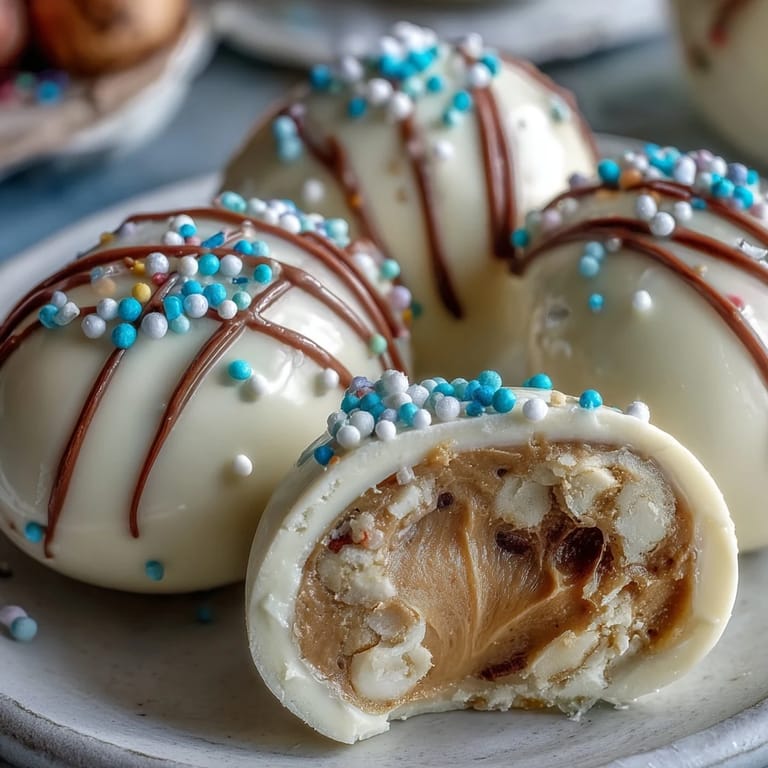
Sprinkle Magic: Making Each Egg Unique
Scooping a handful of sprinkles and letting each person pick their favorites turns these eggs into edible art. It’s fun to watch kids (and adults) stuff extra sprinkles into every chocolate nook, creating treats that reflect their personalities. Never underestimate how a pop of color on dessert makes the occasion feel special.
Chocolate Coating Secrets
For the smoothest coating, I always melt chocolate slowly and stir constantly, even if it feels excessive. Coconut oil helps create a glossy shell, but it’s optional if you don’t have it handy. If the chocolate starts to set before you finish dipping, a quick zap brings everything back to silky.
Troubleshooting Sticky Fingers and Shaping
Sometimes the peanut butter dough sticks more than expected, leaving hands sticky and shapes a bit wonky—but a dusting of powdered sugar on your palms works wonders. And don’t stress about perfection; even misshapen eggs are delicious, and sprinkles hide a multitude of kitchen slips.
- Chill the mixture a few extra minutes if too soft.
- Always use parchment—no substitute.
- Let everyone decorate their own for extra smiles.
 Pin This
 Whether you make these eggs as gifts or for a family holiday tray, their bright appearance and luscious centers bring joy every time. Take a breath, savor the process, and enjoy sharing or sneaking an extra treat yourself.
Recipe Questions & Answers
- → How do I achieve a smooth peanut butter filling?
Beat peanut butter, butter, vanilla, and salt until creamy, then slowly add powdered sugar for a thick consistency.
- → Can I use different chocolate for coating?
Yes, you can substitute dark or milk chocolate for white chocolate to suit your taste preferences.
- → How do I store these eggs for freshness?
Store finished eggs in an airtight container in the refrigerator to keep them fresh and firm.
- → Are there nut-free alternatives for the filling?
Using sunflower seed butter can provide a nut-free option, but check for allergies in all ingredients.
- → Can I add texture to the filling?
Fold in roasted peanuts or crispy rice cereal to add crunch to the creamy peanut butter filling.
- → What tools are essential for making these treats?
Mixing bowls, an electric mixer, parchment paper, and a microwave-safe bowl are all useful for this process.