 Pin This
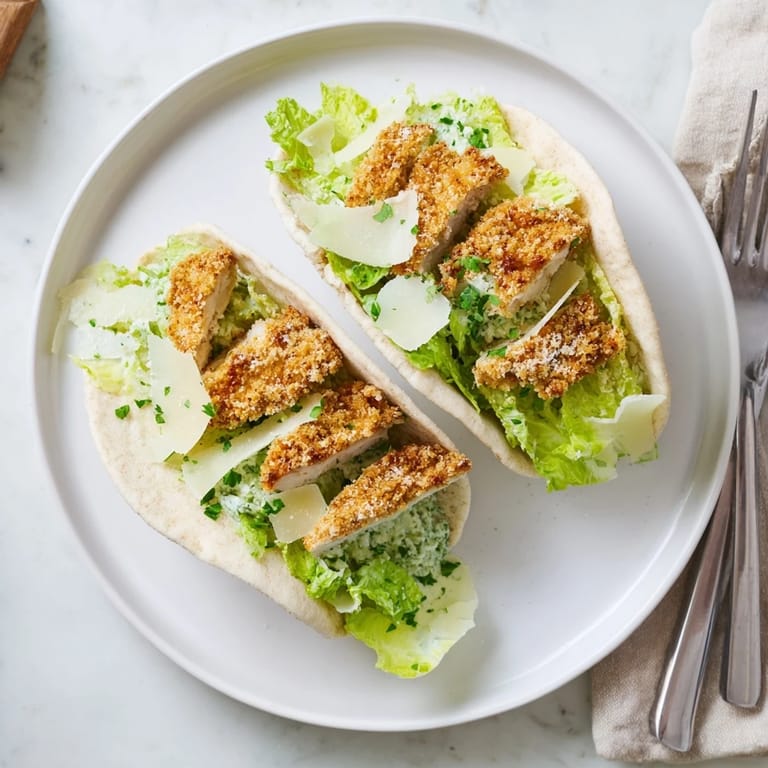
 The first time I made these chicken pitas, my kitchen smelled like an Italian restaurant and my roommate wandered in from her room, asking what kind of magic was happening on the stove. That crispy, herbed crust sizzling in olive oil creates an aroma that somehow makes everything feel right with the world.
Last summer, I started making these for casual Friday dinners with friends, and they became such a hit that people started requesting them by name. Something about food you can eat with your hands just makes the whole evening feel more relaxed and fun, like we are all kids again but with better ingredients.
Ingredients
- 2 large boneless skinless chicken breasts: Slice them horizontally before you start anything else, because trying to cut raw chicken while your hands are coated in flour and egg mixture is the kind of mess nobody needs in their life
- 1 cup panko breadcrumbs: These Japanese breadcrumbs create this incredibly light, airy crunch that regular breadcrumbs just cannot match, and they stay crispy longer too
- 1/2 cup grated Parmesan cheese: The grated kind works better than shredded here because it incorporates into the breading more evenly, giving you that salty, nutty flavor in every single bite
- 1 tablespoon chopped fresh parsley: Fresh herbs make such a difference in the breading, adding little green flecks and a bright, fresh flavor that cuts through all that richness
- 1 teaspoon dried oregano and 1 teaspoon dried basil: This classic Italian herb combination is what transforms plain breaded chicken into something that tastes like it came from a kitchen that knows what it is doing
- 1/2 teaspoon garlic powder, 1/2 teaspoon salt, and 1/4 teaspoon black pepper: Do not skimp on the seasoning in the breading mixture, because this is your only chance to flavor the crust itself
- 1/2 cup all-purpose flour: This is the first stop in your breading station, creating the dry surface that helps the egg mixture actually stick to the chicken
- 2 large eggs and 2 tablespoons milk: Whisk these together until they are completely combined, because any streaks of egg white will show up as weird spots on your finished crust
- 3 tablespoons olive oil: You need enough oil to create a nice, even coating across the bottom of your pan, but not so much that you are deep frying
- 4 cups chopped romaine lettuce: Chop your romaine into bite-sized pieces rather than tearing it by hand, because neat little pieces are so much easier to tuck into those pita pockets
- 1/3 cup Caesar dressing: Toss the lettuce gently but thoroughly, because every leaf should have that creamy, tangy coating without being drowning in dressing
- 1/4 cup shaved Parmesan cheese: Use a vegetable peeler to make those beautiful, thin curls that look impressive and melt slightly against the warm chicken
- 1/2 cup cherry tomatoes, halved: These little bursts of acidity and freshness cut through all the rich, creamy, crispy elements and make the whole thing feel lighter somehow
- 4 large pita breads: Warm them up before you start assembling, because cold pita can crack and tear when you try to open it up into a pocket
Tired of Takeout? 🥡
Get 10 meals you can make faster than delivery arrives. Seriously.
One email. No spam. Unsubscribe anytime.
Instructions
- Prep your chicken like a pro:
- Slice each chicken breast horizontally so you end up with four thinner cutlets total, which means they cook faster and more evenly than thick pieces would.
- Set up your breading station:
- Arrange three shallow bowls in a row with flour in the first, the egg and milk mixture whisked together in the second, and the panko, Parmesan, parsley, oregano, basil, garlic powder, salt, and pepper all mixed up in the third.
- Get your hands messy:
- Dip each cutlet into the flour and shake off the excess, then into the egg mixture and let the extra drip off, and finally press it firmly into the panko mixture until it is thoroughly coated on all sides.
- Cook until golden and perfect:
- Heat the olive oil in a large skillet over medium heat, add the chicken cutlets, and cook for about three to four minutes on each side until they are golden brown and cooked through.
- Warm your pitas:
- Toss the pita breads into a dry skillet or warm oven for just a minute or two until they are soft and pliable, because trying to stuff filling into a cold, stiff pita is an exercise in frustration.
- Make the Caesar magic happen:
- Toss the chopped romaine with the Caesar dressing and shaved Parmesan in a large bowl, adding those halved cherry tomatoes if you decided to go that route.
- Bring it all together:
- Slice your cooked chicken into strips, cut each pita in half to create pockets, and fill each one with some of that dressed Caesar salad followed by the crispy chicken strips.
 Pin This
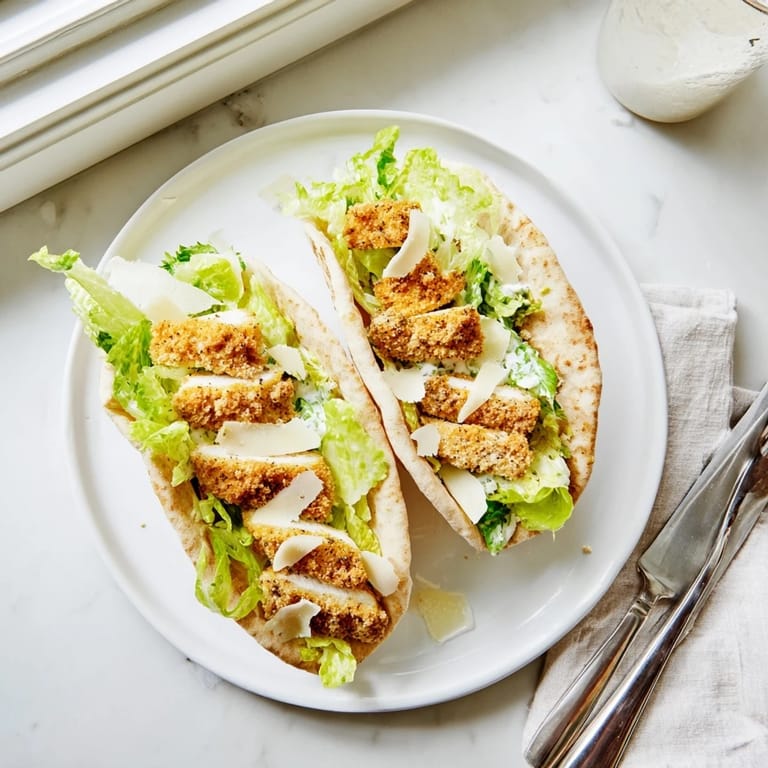
 These pitas have saved me on so many weeknights when I wanted something that felt special but did not require three hours of prep time and a kitchen disaster to clean up afterward.
Making It Your Own
I have found that grilling the chicken instead of pan frying it works beautifully when you want something lighter, especially in summer when the thought of heating up the kitchen feels like punishment.
Perfect Pairings
A simple green salad with a vinaigrette or some roasted vegetables on the side rounds out the meal without adding too much extra work, and a glass of crisp white wine never hurt anybody.
Storage And Leftovers
Store the chicken and salad separately in the refrigerator, because nobody wants a soggy pita situation the next day. Reheat the chicken in a hot oven or air fryer to bring back that crispy texture you worked so hard to achieve.
- Keep the assembled pitas wrapped in foil if you need to pack them for lunch the next day
- The chicken components can be breaded ahead and stored in the refrigerator for up to a day before cooking
- Extra cooked chicken makes amazing salad toppings or croutons for actual Caesar salads
 Pin This
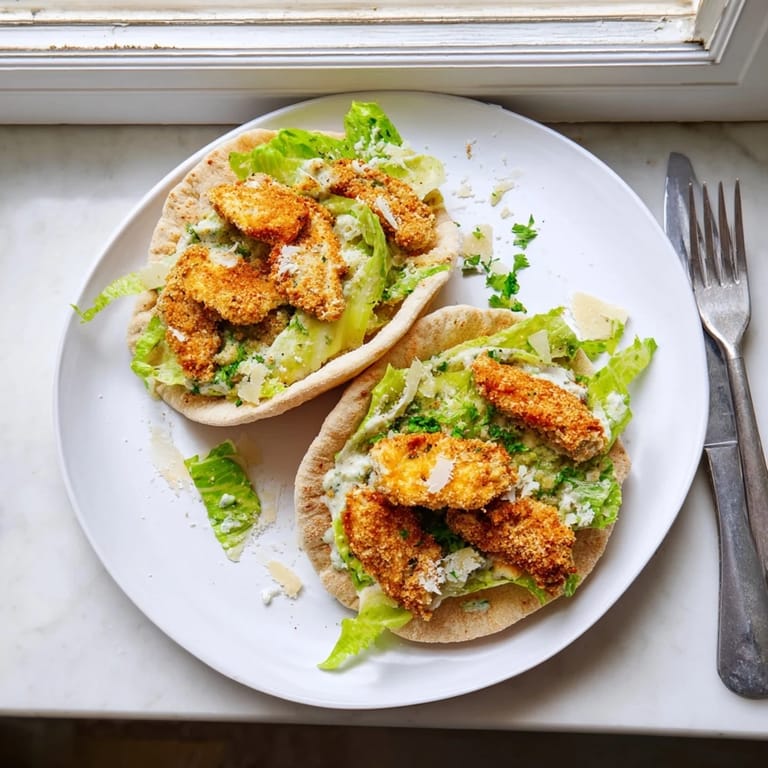
 There is something deeply satisfying about food that requires two hands to eat and leaves you with that wonderfully full, happy feeling that only comes from a meal made with care.
Recipe Questions & Answers
- → How do I get the chicken coating to stick properly?
Set up three separate stations: flour first, then egg-milk mixture, then the panko-Parmesan blend. Press the coating firmly onto each cutlet and shake off excess flour before dipping in egg. Let coated cutlets rest for 5 minutes before cooking to help the coating adhere.
- → Can I make these pitas ahead of time?
Prepare the chicken coating and salad components up to 4 hours in advance. Store separately in the refrigerator. Cook chicken just before serving and keep pitas warm. Assemble right before eating to prevent sogginess.
- → What's the best way to warm pita bread?
Heat a dry skillet over medium heat and warm each pita for 30-45 seconds per side until soft and pliable. Alternatively, wrap in foil and warm in a 350°F oven for 5-7 minutes. Avoid microwaving as it makes them tough.
- → Can I use store-bought rotisserie chicken instead?
Yes, shred or slice rotisserie chicken and skip the breading steps. While you'll lose the crispy crust element, this shortcut reduces prep time to about 15 minutes. Season the chicken with oregano and garlic powder for extra flavor.
- → How do I prevent the pitas from falling apart when eating?
Warm pitas thoroughly so they remain flexible. Cut chicken into thin strips rather than large chunks. Don't overstuff the pockets, and consider securing with toothpicks if serving as party food. Let assembled pitas rest 2 minutes before cutting.
- → What substitutions work for the Caesar dressing?
Use a homemade dressing with mayonnaise, lemon juice, Worcestershire sauce, and garlic if avoiding store-bought versions. For a lighter option, try Greek yogurt blended with lemon, garlic, and herbs. Vegans can use cashew-based alternatives.