 Pin This
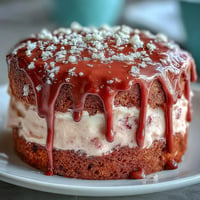
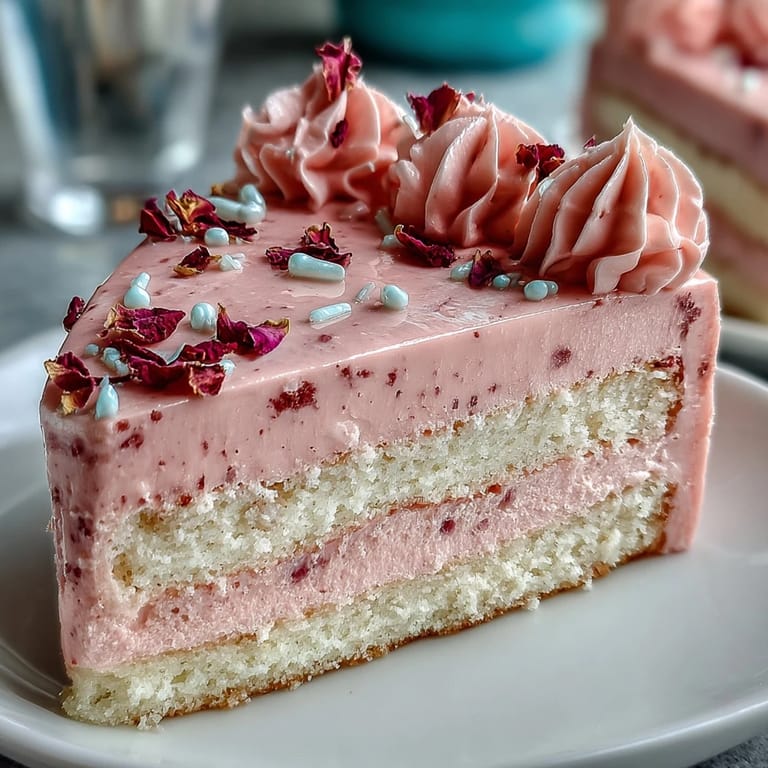
 My sister called me three days before her birthday with a specific request: she wanted a cake that looked like spring had exploded on it. Not the typical store-bought fondant roses, but something that felt homemade and warm, with buttercream painted in soft pastels like watercolor. I'd never attempted anything quite that ambitious before, but something about the challenge excited me. That afternoon, I found myself whisking butter and sugar while imagining how those delicate floral piped details would come together.
What I didn't expect was how my nephew would watch me pipe tiny lavender roses onto the cake, then ask if he could help with the yellow daisies. Suddenly it wasn't just about baking anymore—it became this quiet moment between us, his serious concentration as he squeezed the piping bag, my occasional gentle corrections. By the time we finished, the cake wasn't just dessert; it was a small memory we'd made together.
Ingredients
- All-purpose flour (2 ½ cups): Use the lightest touch when measuring—dip and level, don't pack it down, or your cake will be dense instead of tender.
- Baking powder (2 ½ tsp): Fresh baking powder makes all the difference; check your expiration date if the cake doesn't rise as expected.
- Salt (½ tsp): This tiny amount quietly balances the sweetness and makes the vanilla flavor sing.
- Unsalted butter, room temperature (1 cup for cake, 1 ½ cups for buttercream): Cold butter won't cream properly, so leave it on the counter for at least an hour before you start.
- Granulated sugar (2 cups): This is what creates that light, fluffy crumb when beaten with butter—don't skip this step.
- Eggs, room temperature (4 large): Cold eggs won't incorporate smoothly; add them one at a time or the batter might seize up.
- Pure vanilla extract (1 tbsp for cake, 2 tsp for buttercream): Splurge on real vanilla here; it's the backbone of this cake's flavor.
- Whole milk, room temperature (1 cup for cake, ¼ cup for buttercream): Temperature matters more than you'd think—it helps everything combine without overmixing.
- Powdered sugar, sifted (6 cups): Sifting prevents lumps that'll show up in your smooth buttercream finish.
- Gel food coloring (pink, yellow, lavender, green, blue): Gel coloring won't thin your buttercream like liquid does, and the pastels are easier to achieve.
Tired of Takeout? 🥡
Get 10 meals you can make faster than delivery arrives. Seriously.
One email. No spam. Unsubscribe anytime.
Instructions
- Set yourself up for success:
- Preheat your oven to 350°F and grease those three 8-inch pans well, lining them with parchment paper so the cakes slip out without sticking. It feels fussy, but it's the difference between a cake that unmolds beautifully and one that breaks apart in your hands.
- Build the dry ingredients:
- Whisk together the flour, baking powder, and salt in a medium bowl, making sure everything is evenly distributed. This aerates the flour and prevents lumps from hiding in your batter.
- Cream butter and sugar until clouds form:
- Beat them together on medium-high speed for 3 to 4 minutes until the mixture is pale, fluffy, and almost doubled in volume. You'll hear the mixer working harder as it incorporates air—that's exactly what you want.
- Add eggs slowly and intentionally:
- Drop in one egg, let it fully incorporate, then add the next. This patience prevents the batter from breaking and ensures a tender cake.
- Mix in vanilla:
- A single tablespoon of pure vanilla transforms this from basic to memorable.
- Alternate dry and wet ingredients with grace:
- Start with flour, add half the milk, then more flour, then the rest of the milk, finishing with flour. This prevents overmixing, which is the enemy of a delicate crumb.
- Divide and bake:
- Split the batter evenly among your pans and smooth the tops with an offset spatula. Bake for 25 to 30 minutes, until a toothpick comes out clean and the smell fills your whole kitchen.
- Cool with patience:
- Let the cakes rest in their pans for 10 minutes—this helps them set without breaking—then turn them out onto a wire rack to cool completely before you even think about frosting them.
- Make the buttercream:
- Beat the room temperature butter until it's creamy, then gradually add the sifted powdered sugar while alternating with milk and vanilla. Beat for 3 to 4 minutes until it's smooth, fluffy, and spreadable.
- Tint your buttercream with intention:
- Divide the buttercream into separate bowls and add gel coloring drop by drop until you reach soft, springlike pastels—remember that a tiny amount goes a long way.
- Layer with confidence:
- Place one cake layer on your serving plate and spread a generous layer of buttercream on top, then repeat with the remaining layers until you have a three-layer masterpiece.
- Apply the crumb coat:
- This thin first layer catches all the crumbs before your final frosting; it's less glamorous but absolutely essential for a polished look. Chill for 20 minutes to let it set.
- Decorate with your heart:
- Fill piping bags with your pastel buttercreams and fitted tips, then create whatever floral designs call to you—roses, daisies, tulips, or just delicate swirls. There's no wrong way to do this.
- Chill before serving:
- A final 15 to 20 minutes in the fridge lets the buttercream set so your cake slices cleanly and the colors look vibrant.
 Pin This
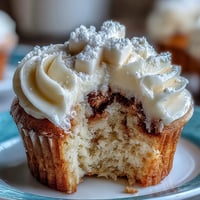
 When we cut into that cake at her party, the layers were perfectly even and impossibly soft, and the buttercream was smooth enough that the knife glided through without dragging. But what I remember most is my sister's quiet smile when she saw it—not because it was flawless, but because she could see the care in every piped flower.
The Magic of Room Temperature Ingredients
I learned this lesson the hard way years ago when I pulled cold eggs straight from the fridge and wondered why my cake batter looked grainy and separated. Room temperature ingredients blend together smoothly and incorporate air more effectively, which is what gives this cake its tender, cloudlike crumb. It's worth the extra hour of patience—set out your butter, eggs, and milk before you do anything else, and you'll set yourself up for success.
When Buttercream Goes Wrong (and How to Fix It)
If your buttercream looks greasy or breaks after adding the food coloring, don't panic—it's usually just too warm. Pop it in the fridge for 10 minutes, then beat it again, and it will come back together beautifully. I once added gel coloring way too quickly and ended up with what looked like frosting soup, but that cold-beat-and-reset trick saved the day.
Piping Techniques That Actually Work
The piping bag is less intimidating than it seems once you understand that you're not drawing with it—you're building shapes layer by layer. Start with a light touch and let the tip do the work, and remember that imperfect flowers look more charming and authentic than picture-perfect ones anyway.
- Use a round tip for basic dots and vines, a petal tip for roses and tulips, and a leaf tip for greenery between your flowers.
- Fill your piping bag only halfway so you're not fighting with excess buttercream as you squeeze.
- If a flower doesn't turn out, simply smooth it out and try again—buttercream is wonderfully forgiving.
 Pin This
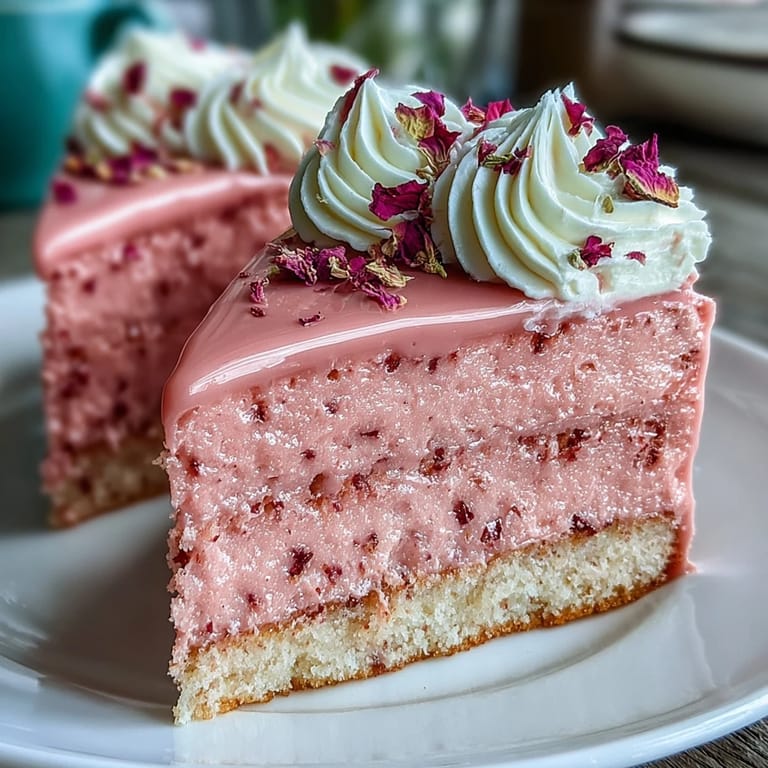
 This cake has become my go-to for any celebration that deserves something homemade and beautiful. Every time I make it, someone asks for the recipe, and I'm always happy to share.
Recipe Questions & Answers
- → What is the best flour type for this cake?
All-purpose flour is recommended to provide a light yet sturdy texture, ensuring the cake layers hold well during assembly and decoration.
- → How can I achieve smooth pastel buttercream colors?
Use gel food coloring sparingly and blend thoroughly into the buttercream. This maintains a creamy consistency and vibrant yet soft pastel shades.
- → Can I prepare the cake layers ahead of time?
Yes, cake layers can be baked a day earlier and stored wrapped tightly at room temperature or refrigerated for a moist texture before assembling.
- → What tools are essential for floral buttercream decoration?
Use piping bags fitted with assorted tips, such as petal and leaf tips, to create detailed floral designs on the cake surface.
- → How do I prevent the buttercream from melting during decoration?
Keep the buttercream chilled before decorating and work in a cool environment to maintain its firmness and shape.